Adding zones manually
You can manually define a zone of your choice by drawing an area on a map.
Instructions
Within topbox navigate to Setup > Pricing > Zones.
Click the + button.
Enter a Name for your zone.
On the map click the Draw a shape icon.
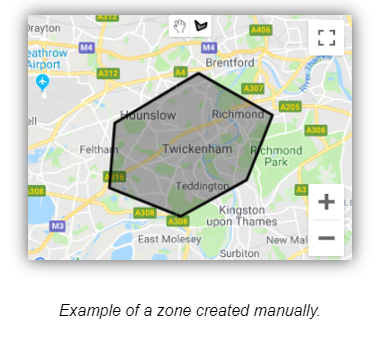
Click on a point of the map to start drawing your zone.
Click as many points on the map to create your zone.
Complete the zone by clicking on the first point.
Click Add Zone.
Result
The zone is now available for selection in zonal rate cards.
Updating zones
You can update an existing zone at any time.
Instructions
Within topbox navigate to Setup > Pricing > Zones.
Click on the zone you wish to edit.
Click the action menu > Edit Zone and make the requires changes. These can include:
Using the Clear Zone button to remove existing zones.
Adding additional zones by postcode district.
Adding additional zones manually using the draw a shape icon
Combining postcode and manual zones together.
Click Update Zone.
Result
The zone has been updated.
Deactivating a Zone
You can deactivate any zone that is no longer required.
Instructions
Within topbox navigate to Setup > Pricing > Zones.
From the zone you wish to deactivate, click the action menu > Edit Zone.
Toggle off the Active option.
Click Update Zone.
Result
The zone has been deactivated and is no longer available for pricing. It is hidden by default on the Manage Zones screen but can be viewed by selecting the Show Inactive Zones option.